Allows external users to join in using the environment.
The invitation can be made depending on the security permissions defined for the logged-in user.
It is available for Deyel environments that use native, LDPA, federated or mixed authentication methods. When custom authentication is the only method used, inviting users is not available.
Steps to Make Invitations
In the right part of the window, a panel is displayed with a step guide so that the user can make the invitations.
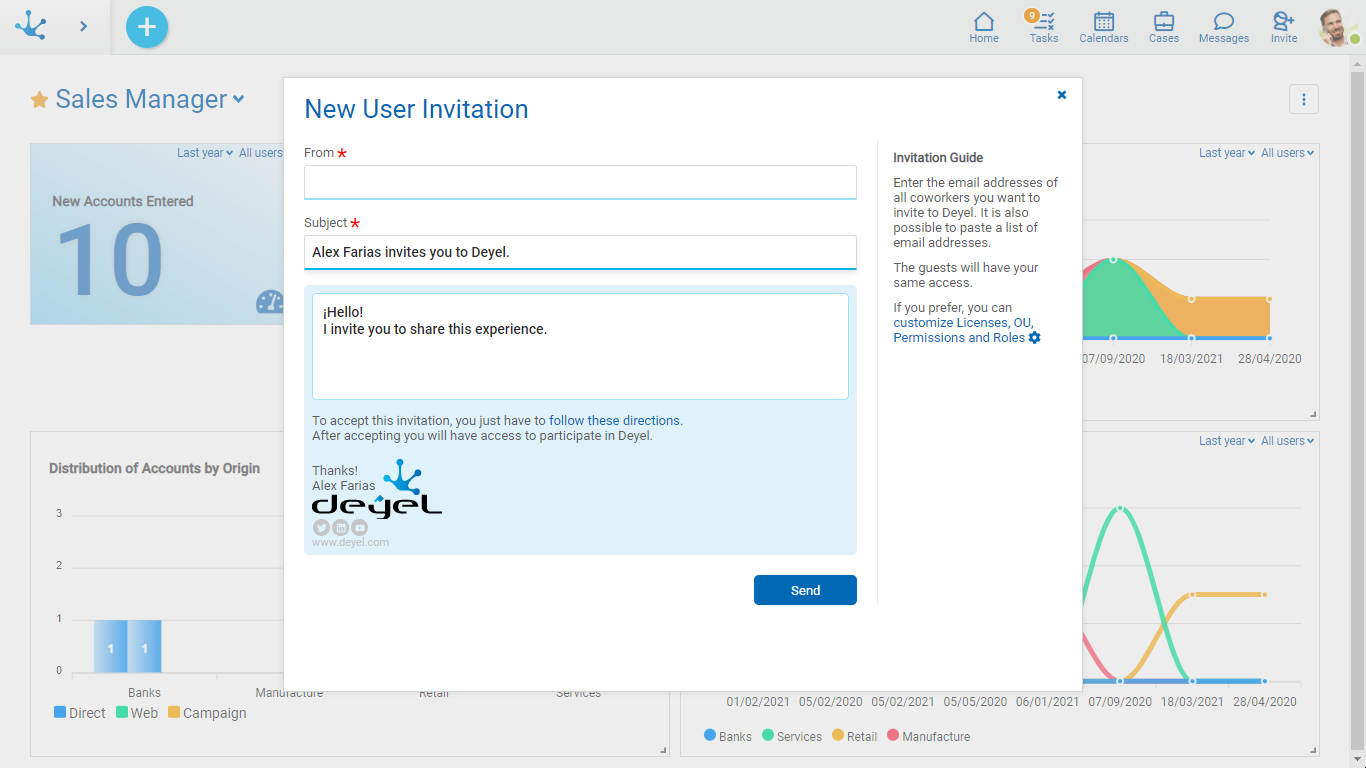
Step 1: Indicate email addresses
Email addresses of user guests must be entered, they must be valid, belong to authorized domains and not correspond to existing users in the environment.
If the LDAP authentication method is used, verify if there is a user in that directory whose email address is the one reported. If so, the invitation is accepted.
The subject and the body of the message contain default texts and the user can customize them.
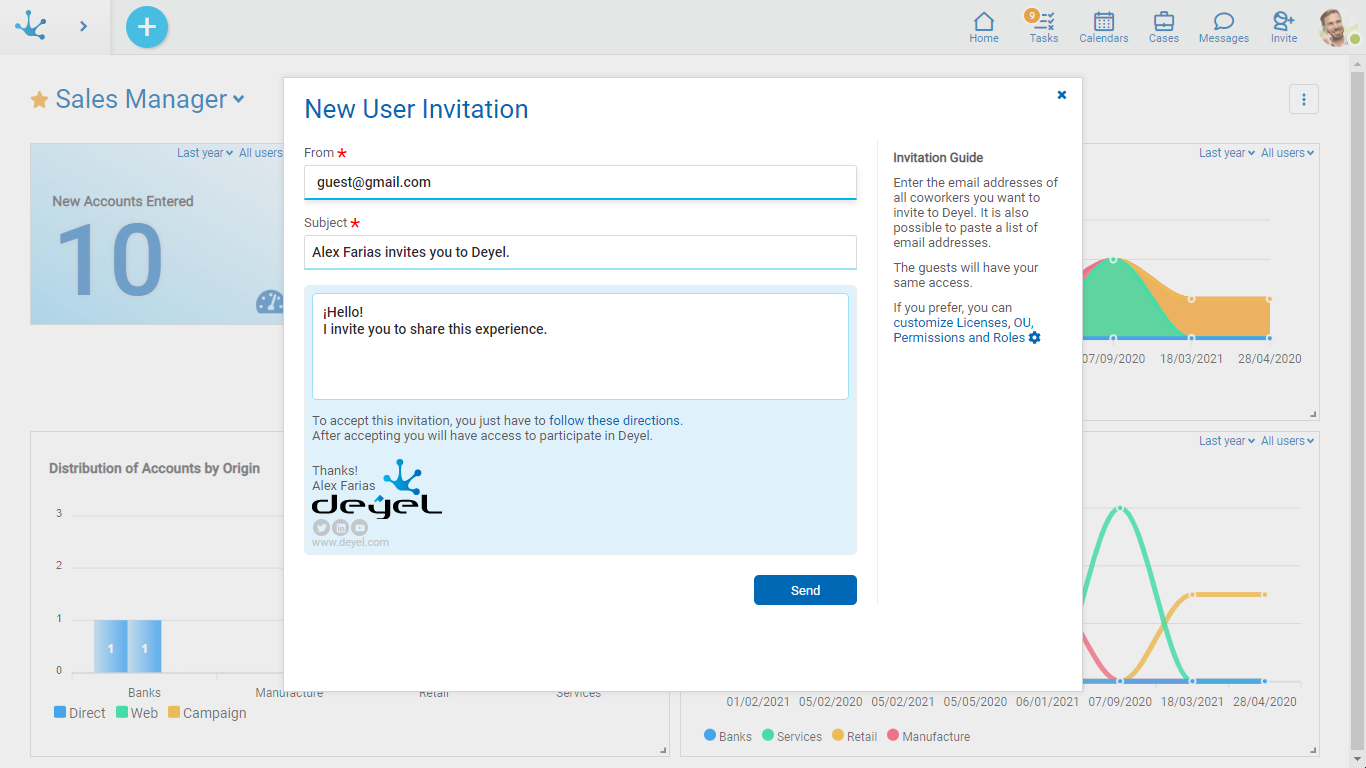
An asterisk "*" on the label indicates that the field is required.
Step 2: Customize licenses, organizational units, permissions, and roles
By default, the guest user is set to have the same product licenses, organizational units, permissions, and roles as the inviting user. However, when making the invitation, these definitions can be changed by pressing the option indicated in the side panel.
•Organizational Unit
Allows to select the organizational unit of their own or any unit dependent on it.
•Product Licenses
Allows to use the same user license that the inviting user has or change it for another type of license of lower hierarchy. For example, if the inviting user is a Deyel modeler, new modeling users or participating users can be invited whereas, if the inviting user is a participant, only new participating users can be added.
•Access Permissions
Allows to select access permissions for a guest user. They can be all or some of the permissions of the user that is making the invitation.
•Roles
Allows to select roles for the guest user which can be all or some of those integrated by the inviting user.
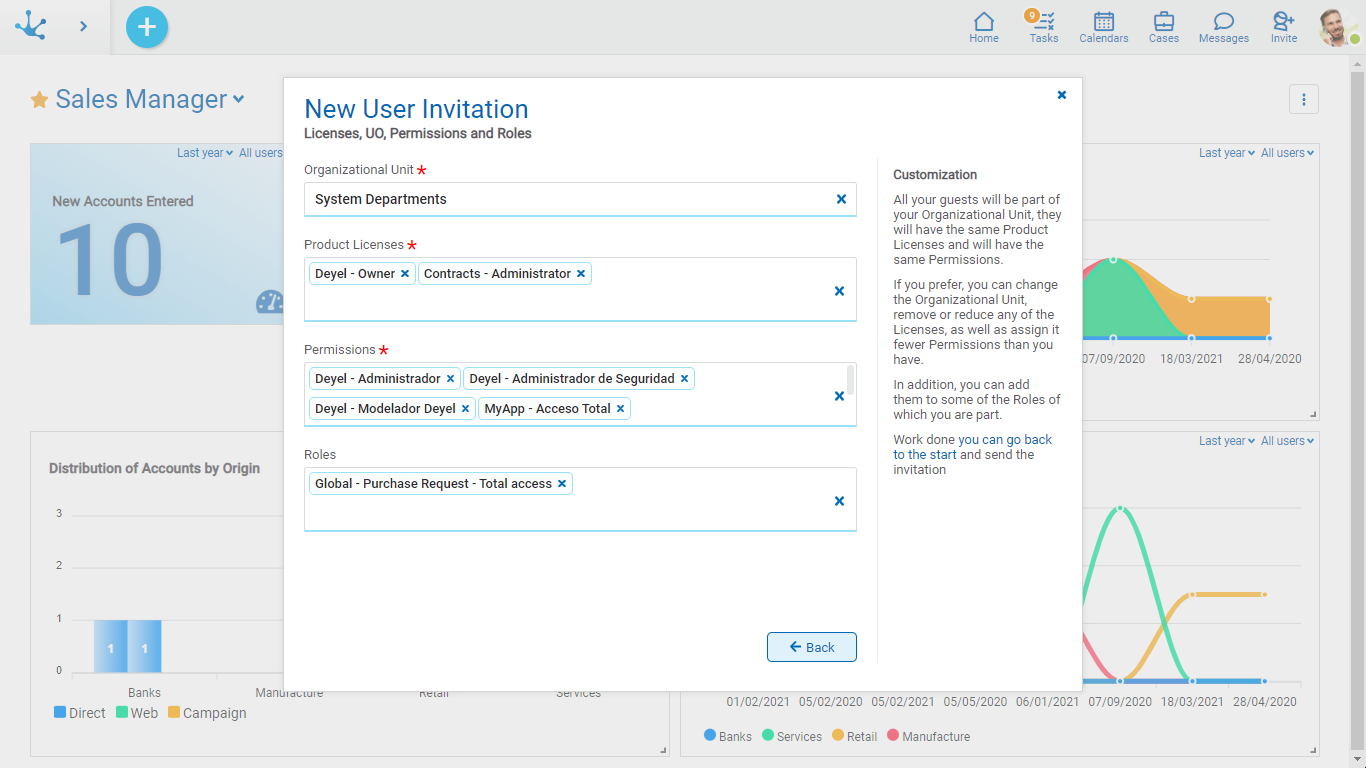
Pressing the “Back” button returns to the initial panel of the invitation.
Step 3: Send invitations
Once the invitation has been made, when the "Send" button is clicked, a notification email with the following information reaches the user guest:
•Text customized by the user that sent the invitation.
•Indications and link to accept the invitation.
•Message footer, with the signature of the inviting user.
When the guest user receives this email, they have to follow the instructions to access the acceptance panel, where they should complete their personal data and access key. This activates their account and the guest user can access the portal.
The user that sent the invitation receives a notification through Tedis business social network once the guest user has accepted or rejected it.
A user can see from his profile the invitations they have sent and also delete them if they have not yet been accepted.
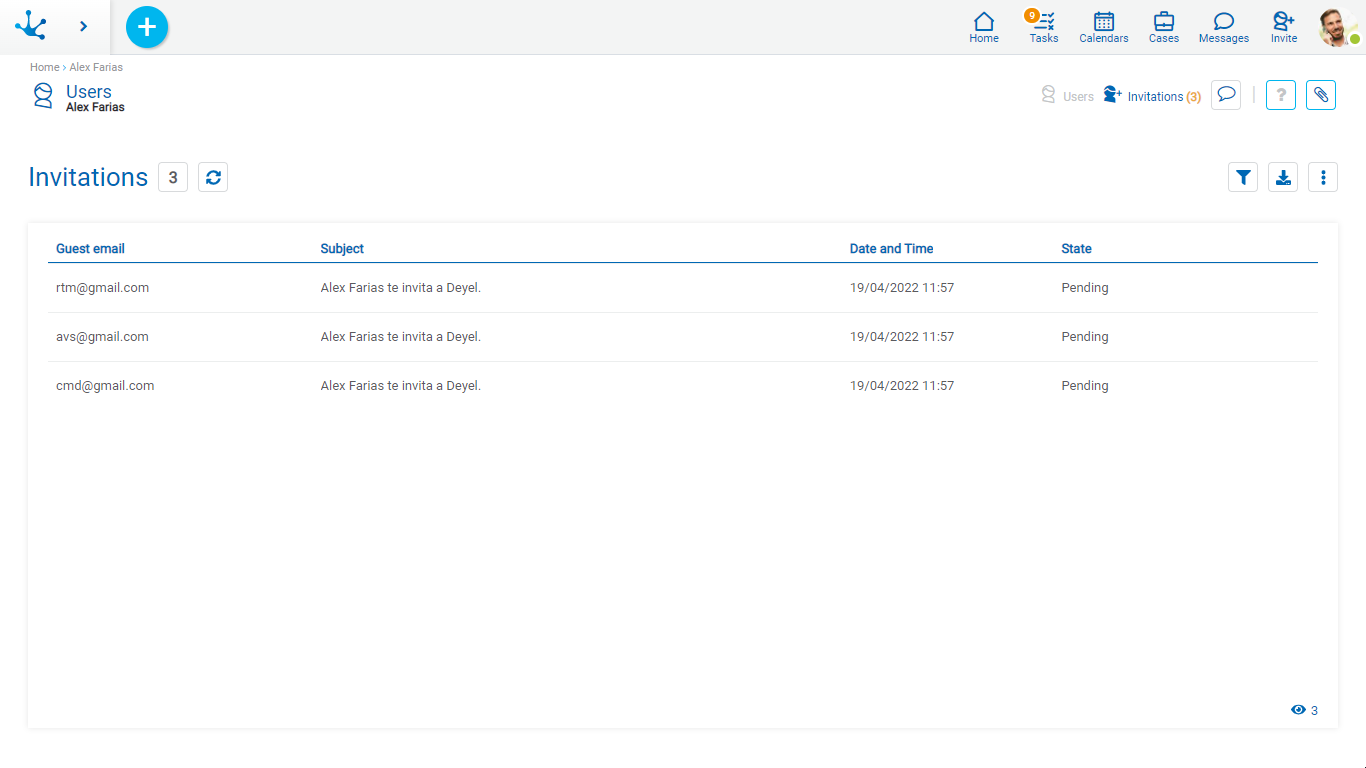
The following fields are displayed as grid columns:
•Guest user email
•Sent email subject
•Invitation date and time
•Invitation State