The steps required to create a project in Eclipse IDE are described below.
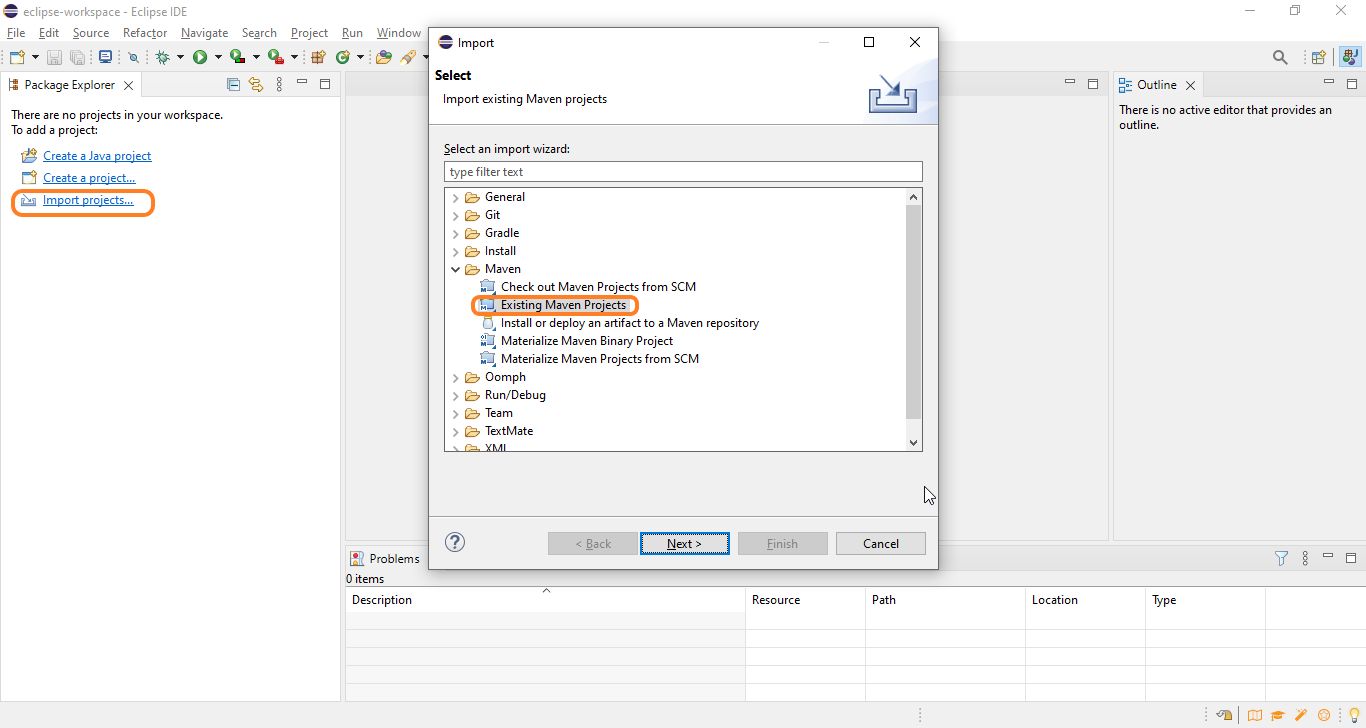
1.Select "Import Projects". Choose the option "Existing Maven Projects'' and press the button corresponding to next.
2.Select the folder in which the Maven project downloaded from Deyel was unzipped. Press the button corresponding to end.

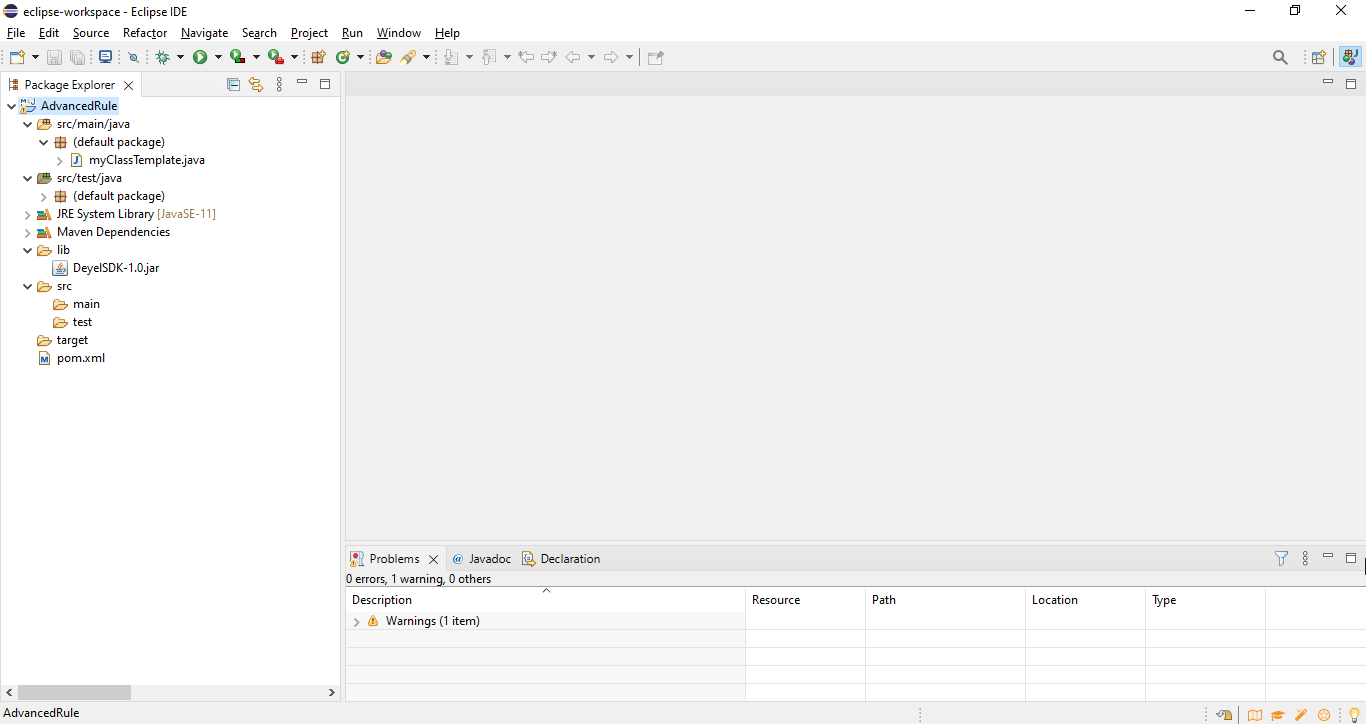
3.End of installation, the project has already been imported.